
Dear Friend,
Welcome to Lost Art Cards and Designs.
You might find tiny bouquets on paper, pretty places, words of encouragement, the artwork of others, or a quote from a good book.
My hope is that you will find something that delights the eye of your heart and remains a part of you for a lifetime.

Stamping at the lake


Layered Gold Leaf Christmas Tag! Stamp a Faire 2016

Fun with Gold Leaf Paint! Yes, I am going to like this technique!

This tag was made by adding several layers of Papertrey Ink Pure Poppy to watercolor paper. I kept adding layers until I got the color I wanted. The filigree tag was painted with Plaid Liquid Gold Leaf paint. It adds a very pretty effect.

I stamped the wreath with the Deck the Halls set then fussy cut it inside and outside the stamped wreath. I stamped the sentiments in Delicata Golden Glitz Ink by Tsukineko. The small Christmas tree charm was painted with the Gold Leaf paint and all of the tags were tied with gold organza ribbon.
Starry Night Inspiration! Stamp a Faire 2016

The next card was made from the inspiration of the Master work of Vincent Van Gogh. I have admired his artwork for many years, but did not know his personal history which I found fascinating.
Watching the video gave me a taste for learning more about this great artist. I was also inspired by the work of Amy Sheffer who taught how to combine certain ink colors to make a night time sky.

I used the Forget Me Not stamp and die set, blended several ink colors together, and then spritzed them with water to create a watercolor effect. I decided to emboss the watercolor paper while wet then swipe some more Papertrey Ink Enchanted Evening Ink on the embossing folder, mist it and then run it through my Sizzix Machine. After that I swiped Vintage Cream across the raised swirls.
With the remaining watercolored paper I die cut the Forget Me Not Flowers and then stamped the matching images on the flowers to create a blended, yet different look. Only using part of a sentiment from Art from the Heart, I wrapped an organza midnight blue ribbon on top of the embossed paper and completed the card by spritzing Tsukineko Shimmer Spray in Gold and Frost.
Four Season Card , Stamp a Faire 2016

While drinking coffee and waiting for Cinnabon Rolls to come out of the oven , I sat on our deck and watched the first video. We were challenged to choose a Master Color Recipe from a selection of famous art Masterpieces as well as a color scheme recipes.

I chose Date in a Park by Leonid Afremov as my inspiration for this card. His painting was so beautiful, it made me want to walk in the park that he painted. I wanted to try a different style of card this time depicting all four seasons. A bit unusual for me, but a good learning experience.
The fun part was stamping with only the colors in the recipe. It was a challenge, but it pushed my me to try a new color combination and some new stamp sets.
Stamp a Faire 2016! Art with Heart!

A first time participant! I have been looking forward to this event for quite some time!
I pre-ordered the free Art with Heart set...which was instant love for me! I love florals, watercolor and quotes in pretty fonts.

I could not wait to try some things with this new stamp set. Here is one of the first things I made. I plan to frame it and use it as a small decorative piece in our home.
Love You Bunches!

This small gift of love is for my daughter Gayle.

It has a shabby chic appearance. I hand dyed the pretty silky ribbon to match the completed project.
Embossed Bookmark for a reading grandson!


Yesterday I made this bookmark for my grandson who just began to read! I used many layers of ink, stain, paint, and glitter, but like the way it turned out. I wanted to express my joy in his accomplishment.

I found an inexpensive package of library pockets at our local craft store, and inked around the edges and inside background to give it a vintage look. I had a page of this cute scrapbook paper left and cut out this tag and adhered it to the front of the pocket.

On the reverse side of the paper I edged the scrapbook notebook paper in washi tape , stamped a sentiment and tore another small tag from the remaining scrapbook paper, punched a hole at the top and tied the whole thing up with some twine I had in my ribbon drawer.

Here is what it looks like as a set. I think he will have a good time using it when he is reading.
One thing I frequently reminded myself of while making this card was that it was a piece of paper turned into something a little different than it began, with stamps, ink, stains, and paint. My grandson won't understand or know about how I kept trying to make a certain effect on this bookmark, or how I felt like he might, trying out something new , experimenting with ideas, and just enjoying the process of discovery. My grandmother had a saying ," If you can read," she said, " you can go anywhere you want to go, become anything you want to be, and do anything you want to do." That thought has stayed with me my entire life, but I don't always recall it for every situation I am in. Because of her I can learn, enjoy, and experiment, all because I can read. I wanted my printing to be just right- to complete the perfectly printed look for my completed library pocket, it didn't work out this time. But I want him to know that life is full of events, some of them are successful, some are not, But its ok , we can still give a heart gift even if it isn't perfect. And sometimes life's imperfections are what make us grow and learn.
Vintage Crackle Glass and matching card front..or something


This votive glass and shaker below were made using the Crackle Glass Technique I learned in Creative Chemistry 102.


This card front was made for my daughter Gayle today because she works so hard at all she does and I wanted to be an encouragement to her today.
Day 3 Technique Tags

I did not complete each technique from this lesson. Here are my completed projects from Day 3.

Day 3
Smudging Technique

Day 3
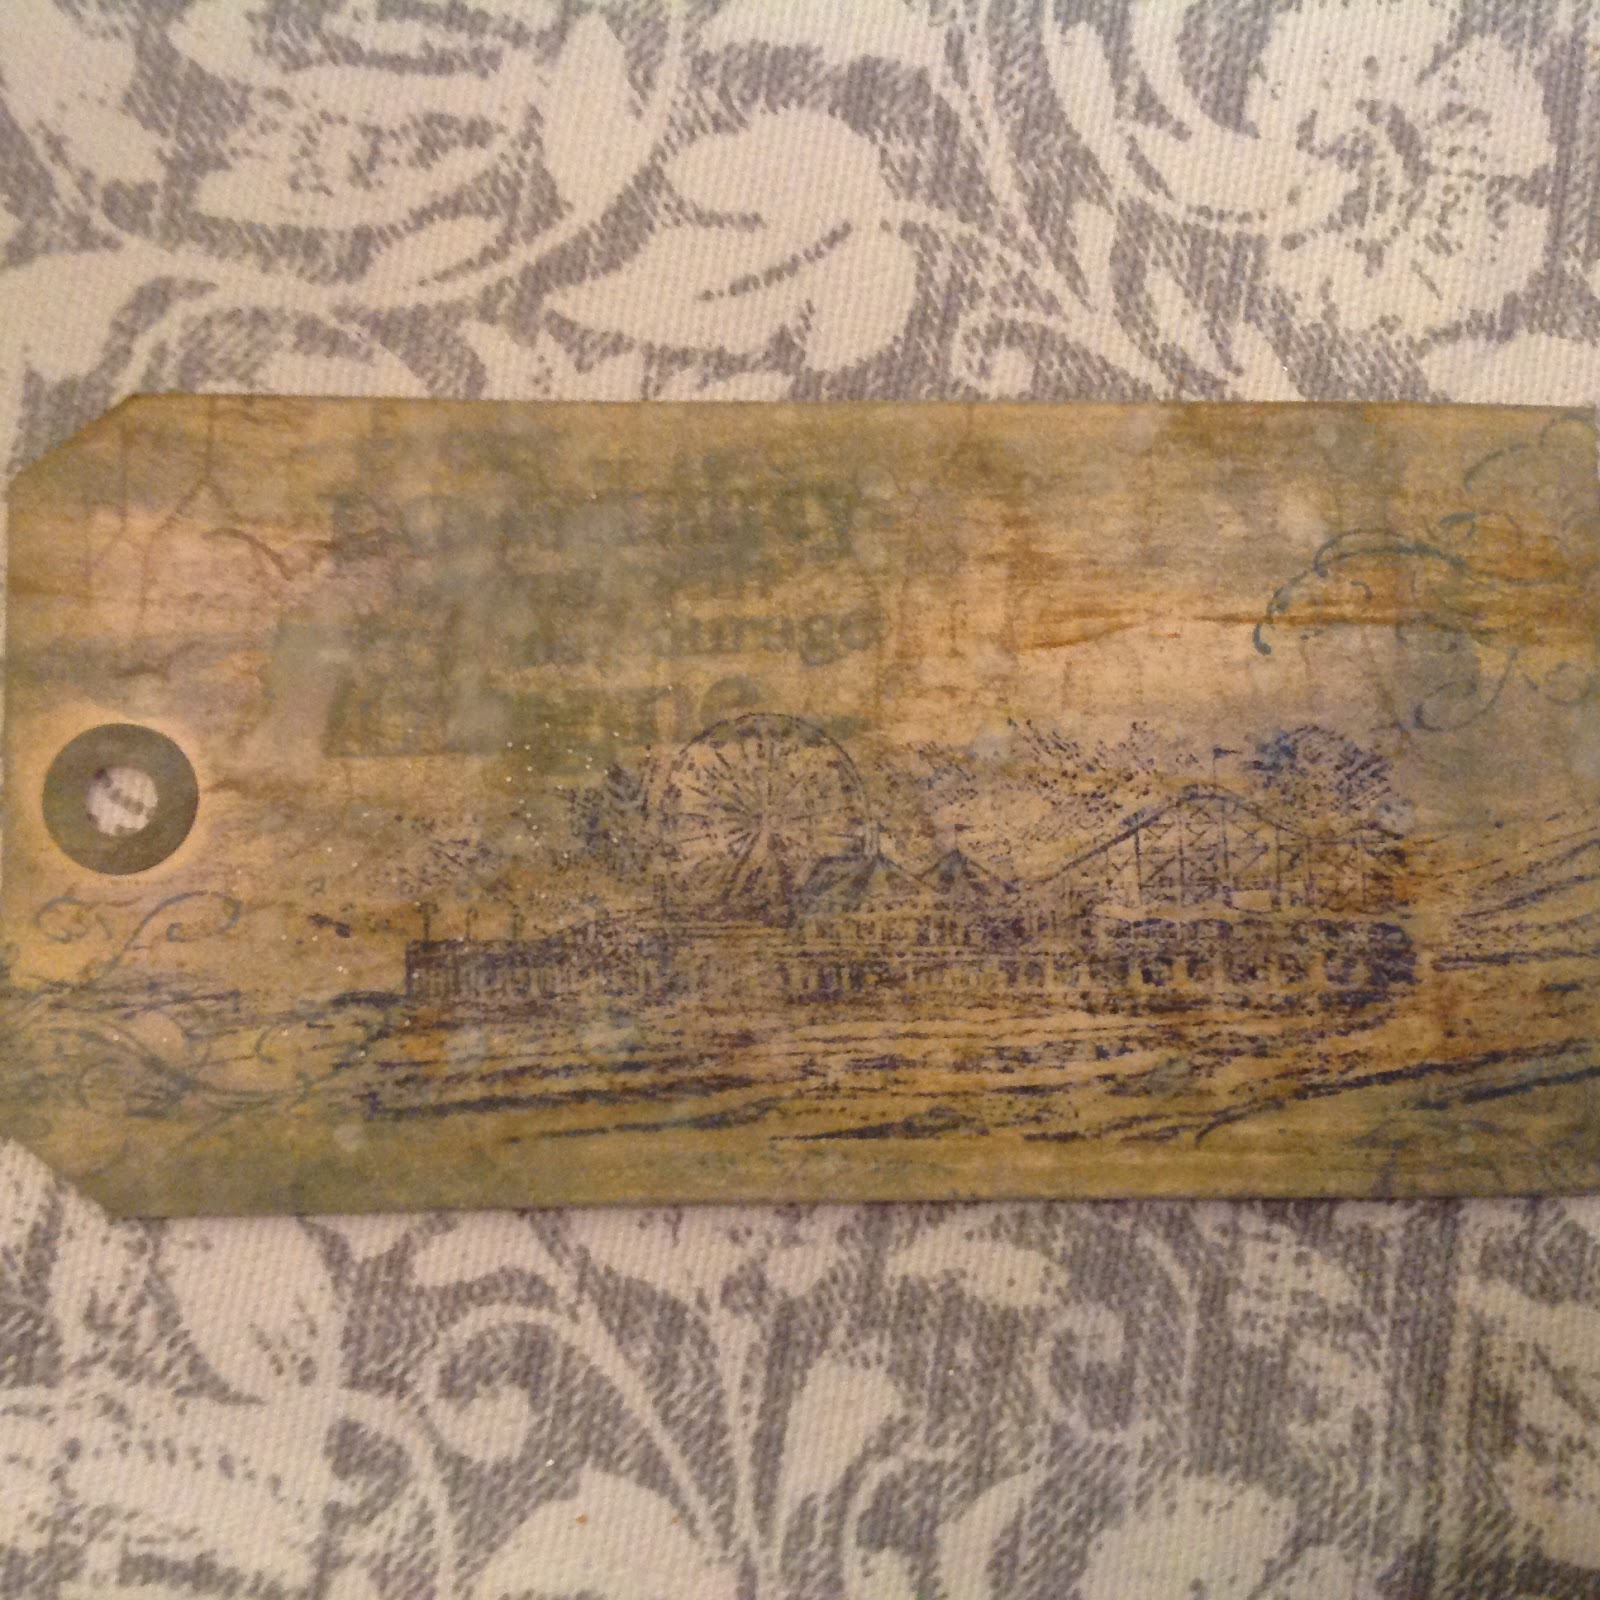
This tag mimics the background you can produce using a brayer to apply the ink. I did not have a brayer but liked the openness of the tag background in the video demonstrating this technique and I wondered what I could do to achieve the same look on my own tag.
To make this tag, I applied Distress Ink using the 1"inch cubes that I am collecting. I swiped several colors onto the tag and it produced an open, airy kind of look. I liked it. ( more about how to make this type of background using the 1" cubes on my Joyous Fall Tag post)
I stamped the Boardwalk scene and Ocean Wave stamp in Blueprint Sketch using the smudge technique, then added some more water by masking , stamping, and smudging. It really gives a soft feel to the scene. Then using the Stripes stencil I added some stripes at the bottom of the tag in Brushed Corduroy.
Wanting to depict the imaginary quality of sand castles in the air, I stamped with the Sandcastle stamp using the stamp off technique and made a sandcastle row behind the boardwalk scene at the front. Adding a sentiment using the smudge technique , the tag was complete.
Actually I would like to make this tag over again and making the sentiment bolder.

Day 3
Glitter Technique
These were die cuts I had previously cut and were waiting in my stash. Inspired by this video, I applied Pumice Stone Distress Glitter to the plane and both Clear Rock Candy Distress Glitter and Pumice Stone Glitter to the cloud after inking in several Distress Ink colors.
The Laurel Garland from Papertrey Ink was made by swiping Distress Ink in a few green shades onto the garland, then covering it with Clear Rock Candy Glitter. These are now waiting for me to use them in a project.
Joyous Fall Collage Tag

Today I made this beautiful fall tag. I wanted to experiment with applying ink in several colors to produce the effect you see underneath the printed acetate overlay. I tried this instead of using a brayer and was able to achieve the lightly inked effect in 5 steps. I wanted to share this technique with you, I don't recall ever seeing it used before, so I may have invented it, but I have no way of knowing for sure. I just really like it! Keep reading to learn how.

Step 1
First , choose 3-4 Distress Ink colors in the 1" cube size. ( I have tried this successfully with up to 4 colors)
Then , lightly swipe the tag with the 1" Distress Ink color of your choice.

Step 2
Next, lightly swipe in some different places with your next color.

Step 3
Next, swipe the remaining color in a different direction. Lightly swiping the Distress Ink Pad across the manila tag gives an open, airy kind of feel to the tag.

Step 4
Lightly swipe with the remaining color.

Step 5
I chose the Falling Leaves stamps by Stampers Anonymous to make this tag. I applied Distress Ink pads to my craft mat, spritzed the colors with water to blend and then placed the leaf stamp into the watery ink and stamped the tag. Since this was not watercolor paper, the ink laid on the top of the tag, so I used my heat tool to dry it. Then I added another layer of color to the leaf by stamping slightly beside the first image.
Wanting something a little special, I decided to cut out an overlay from gold printed acetate. Then, my creative mind went wild! I began looking for every leaf die that I had in my possession and cut several different leaves, but decided on Alterations Autumn Gatherings and am so glad I did.

Tinted, Heat -Curled, Mica Spray, and Misted Die Cut Fall Leaves
They turned out to be the perfect embellishment for this tag.

This picture shows some of the tiny leaves before tinting them with the remaining Distress Ink left on my mat. I used my Storks to hold on to the tiny pieces while I used the heat tool to make them curl slightly.
After allowing the ink to dry the first time, I sprayed each leaf with Mica Spray, let it dry after a quick shot of the heat tool, and then swiped it into a little bit of Pine Needles Distress Ink that had been sprayed with water.

I am not sure you can see the beautiful tiny leaves surrounding the wooden filigree heart, but they really do look pretty on the tag. I glued them in place with Multi Matte Medium. The gold vellum Stampendous sentiment was embossed with Liquid Platinum Embossing Powder by Ranger , then stained using Tea Dye Stain and then adding some touches of Antique Linen Distress Paint to both sides of the sentiment piece as well as to the edges for a antiqued effect.


The tiny die cut acetate leaves show up a little better in the last two pictures. They are so delicate , they almost look like glass but they do not show up well . Hoping you can see them!
Joyous Fall Collage Tag
Today I made this beautiful fall tag. I wanted to experiment with applying ink in several colors to produce the effect you see underneath the printed acetate overlay. I tried this instead of using a brayer and was able to achieve the lightly inked effect in 5 steps. I wanted to share this technique with you, I don't recall ever seeing it used before, so I may have invented it, but I have no way of knowing for sure. I just really like it! Keep reading to learn how.
Step 1
First , choose 3-4 Distress Ink colors in the 1" cube size. ( I have tried this successfully with up to 4 colors)
Then , lightly swipe the tag with the 1" Distress Ink color of your choice.
Step 2
Next, lightly swipe in some different places with your next color.
Step 3
Next, swipe the remaining color in a different direction. Lightly swiping the Distress Ink Pad across the manila tag gives an open, airy kind of feel to the tag.
Step 4
Lightly swipe with the remaining color.
Step 5
I chose the Falling Leaves stamps by Stampers Anonymous to make this tag. I applied Distress Ink pads to my craft mat, spritzed the colors with water to blend and then placed the leaf stamp into the watery ink and stamped the tag. Since this was not watercolor paper, the ink laid on the top of the tag, so I used my heat tool to dry it. Then I added another layer of color to the leaf by stamping slightly beside the first image.
Wanting something a little special, I decided to cut out an overlay from gold printed acetate. Then, my creative mind went wild! I began looking for every leaf die that I had in my possession and cut several different leaves, but decided on Alterations Autumn Gatherings and am so glad I did.
Tinted, Heat -Curled, Mica Spray, and Misted Die Cut Fall Leaves
They turned out to be the perfect embellishment for this tag.
This picture shows some of the tiny leaves before tinting them with the remaining Distress Ink left on my mat. I used my Storks to hold on to the tiny pieces while I used the heat tool to make them curl slightly.
After allowing the ink to dry the first time, I sprayed each leaf with Mica Spray, let it dry after a quick shot of the heat tool, and then swiped it into a little bit of Pine Needles Distress Ink that had been sprayed with water.
I am not sure you can see the beautiful tiny leaves surrounding the wooden filigree heart, but they really do look pretty on the tag. I glued them in place with Multi Matte Medium. The gold vellum Stampendous sentiment was embossed with Liquid Platinum Embossing Powder by Ranger , then stained using Tea Dye Stain and then adding some touches of Antique Linen Distress Paint to both sides of the sentiment piece as well as to the edges for a antiqued effect.
Creative Chemistry 102 , A Quick Glance at Stencils Completed, plus 2 Technique Tags from Day 1


Industrial Technique, Day 1
completed by using embossing folder, Distress Paints and Inks

Embossed, Stained , then Ink Swiped
Self Tearing Technique demonstrated by wet paper, lol

YES!! It is POSSIBLE to Distress Stain Tracing Paper, Emboss it , then swipe ink over the top for detail effects! I really liked this one.

Altered Surface Technique, painted clear plastic ornament black on one side with Archival Black Ink, then applied Distress Paints of various colors and lifted color for desired effect.
Hard to choose a favorite from the tags pictured below, really like this stuff!

Botanical Sketch Background Stamp using Distress Paint and Stain Resist in 3 colors

My Favorite Things Etched Tribal Background Stamp using Paint and Ink Resist in 5 colors

Embossing Through Stencils using Direct to Paper application techniques and after clear embossing, applying stain and then ink all over and wiping

Embossing using an embossing folder, then sanding and ink swiping

Making a background using Distress Ink with Stencil and Double Embossing Technique.
Clear embossing over the surface, then double embossing a design with colored embossing powder, then applying Archival Ink Stamping to tag.


Both tags were made using Mixed Media Layering with Re-Inker Misting

Stamping Through Stencil with Ink, probably my favorite. I love the way the tag absorbed the ink colors. Because of the stencil I chose, I needed to use very fine print stamps to add a sentiment on a color stripe. This took time! Then I added some other birthday stamping to complete the tag.
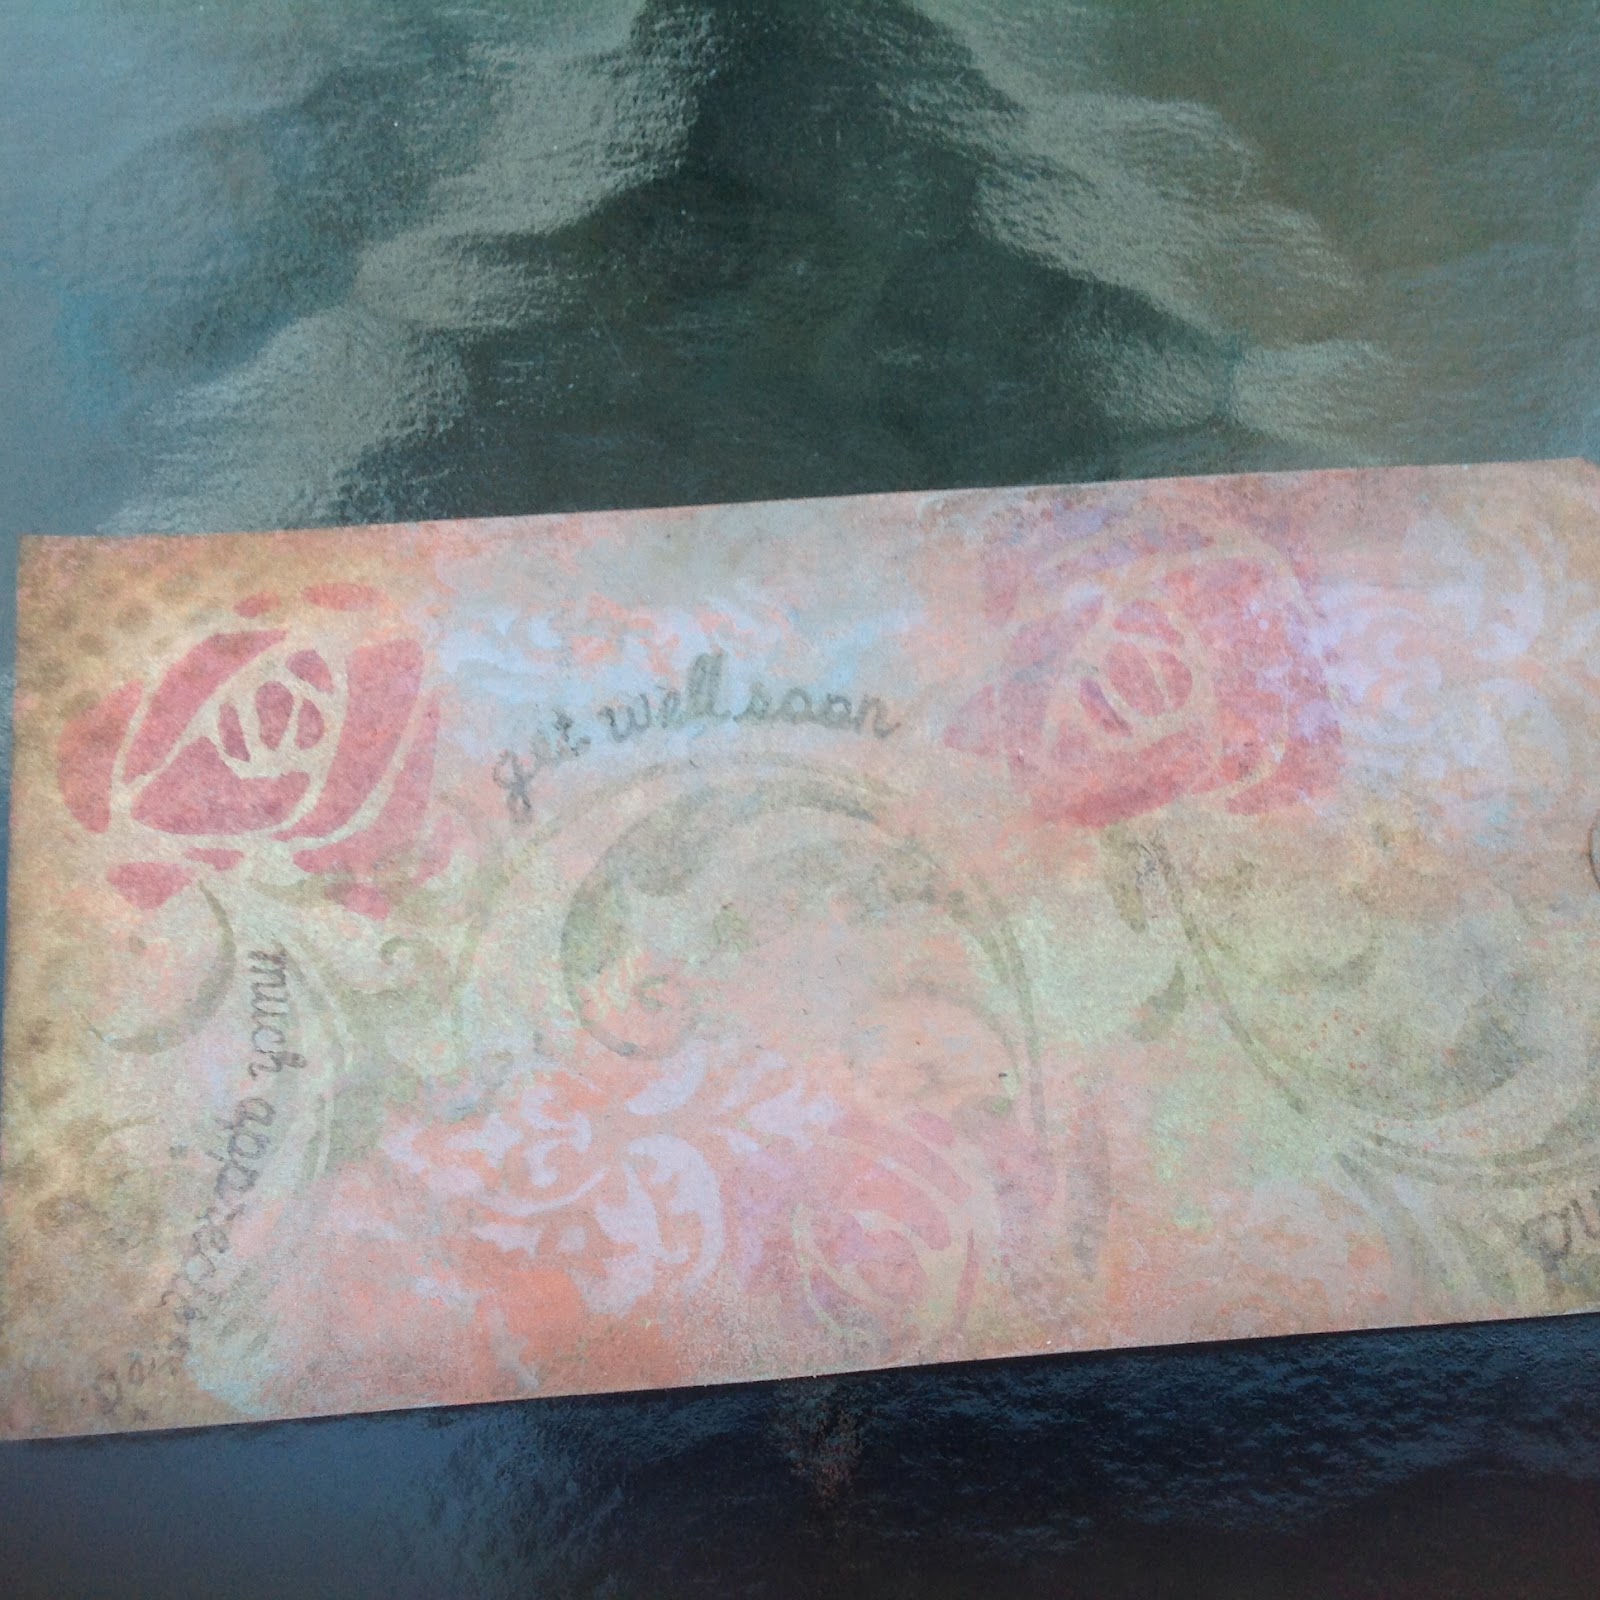
This tag was made using the Eroded Metallic Technique. I then added the roses using the Stencil Sketch Technique and then the Gradient Marker Technique learned from Creative Chemistry 101. After that I added some curved sentiments from Taylored Expressions to make a Get Well Soon tag.
Subscribe to:
Posts (Atom)