
Dear Friend,
Welcome to Lost Art Cards and Designs.
You might find tiny bouquets on paper, pretty places, words of encouragement, the artwork of others, or a quote from a good book.
My hope is that you will find something that delights the eye of your heart and remains a part of you for a lifetime.

Misted Roses

Misted roses in woven basket on tracing paper misted with water. Really pleased with the effect the distress ink and water had on tracing paper.
Stamped with a variety of Rose Peg Stamps and Ranger Distress Ink Pads and Markers on tracing paper gave an antiqued look and feel to this card. The sound this paper makes after adding distress ink and water takes you to an imaginary place...
To make this card, experiment with Distress Markers, Distress Ink Pads, or Distress Crayons by applying color to the tracing paper. Then mist with water and crinkle the page until you get the distressed effect of lines and wrinkles that make it look like the paper has been aged. While still wet, smoosh the colors together to blend. You can blot any excess with a paper towel, or dry with a heat gun.
I stamped the IO gathering basket while the paper was still wet. I liked the watery effect it gave the image. Then, I dried the whole sheet before stamping with all three Rose sets.
Supplies:
Water Mister
Coordinating paper cardstock

Something Found
This morning I found an email link in my inbox to a new technique book on embossing I would like to share with all of you. The title of the book is Embossing Powder Techniques from A-Z by Fran Seiford. Though I have not read this book yet, I am thinking it will be on my shelf of resources very soon.
Clicking on the featured artists on the Stampendous blog, I was able to see several examples of embossing art that I would like to try. Here is the link to the blog post:
https://stampendousblog.wordpress.com/2016/03/25/friday-fun-with-embossing-a-to-z/
I plan to feature more links to other "new discoveries" under this post's title, Something Found in the future. It seems to go along with the concept of lost. Have a great weekend everybody!
Beautiful Blooms!

Please follow this link, Mixed Media Challenge #23 to learn more about this great challenge for adding dimension to projects.

This card was made using the Beautiful Blooms Card Kit from My Favorite Things.
To make this card I began by painting a watercolor wash background on
Strathmore Cold Press Watercolor Paper using Kuretake Gansai Tambi Watercolors. I die cut the wreath elements and then stamped them with the dye inks and paper included with kit.
Strathmore Cold Press Watercolor Paper using Kuretake Gansai Tambi Watercolors. I die cut the wreath elements and then stamped them with the dye inks and paper included with kit.
I love the tranquil and soothing colors, variety of patterned paper and quality cardstock included in this kit. Adding the included sequins gave the card sparkle and light. This was the first kit I purchased from My Favorite Things and I enjoyed working with it. Everything I needed to make a variety of projects was included with the kit.

Postcard
When I first opened the Beautiful Blooms Card Kit, I wasn't sure where to begin, so I copied one of the designs from the cover page before beginning the wreath card. After trying the stamps, I placed the card front in front of me along with the kit cover page and began making the wreath card shown above.
As I looked at the card front made from the kit sample I challenged myself to broaden the design already stamped and to make something slightly different than a regular greeting card. My brother and sister-in-law's family vacation actually served as the inspiration for this postcard! Thinking about vacation postcards, I quickly remembered buying premade postcards from Canvas Corp. printed on kraft paper and ran over to my premade card drawer and found them! Searching through my stamp collection, an idea came together and I sat down and had fun playing around with many of my new art supplies.
My Favorite Things Premium Dye Ink and Ranger Ink Distress Clear Rock Candy Crackle Paint made my experience ecstatic!!!! Those crayons are fabulous! and so much fun to work with! I used regular paintbrushes and my natural paint brushes ( fingers !) to achieve the effect I desired.
Supplies Used:
Planner Inspiration!

To reinforce the divider page I used a trim from Papertrey Ink's Board and Beams die because the zigzag edge reminded me of sewing, then coordinated my planner tabs using a Spellbinders Nestability Scalloped Die
 To make swatch pages I used the Papertrey Ink's Binder Page Die and a Spellbinder Nestability Die then attached each sample with a brad, writing the name of the felt color above the swatch sample. This way I can easily decide on project colors by simply removing the swatches and coordinate them.
I call these pages my "color field". To give these pages a little bit of stitching character I stamped stitching lines using TPC Studio Clear Stamps Sew Happy Together stamps.


Next I made Felt Project Idea and Project Priority lists using Moments Inked Binder Page Dies and coordinating stamps and Spellbinders Nestability Scalloped Dies helped put on a pretty edge.
Bunnies Card...revisited

After stepping away from the card and coming back to it, I thought the eggs looked too large for that layer and the flowers on top were somehow not right. Feeling tired and cranky, but wanting to participate in Papertrey Ink's Create Along With Us, March 2016 Challenge, I redesigned my card.
Those streamers, part of the Hooray stamp set are the neatest stamps! When they were originally released I knew I had to have them! They brought back some wonderful memories. I fussy cut a new set of streamers and used them in place of the eggs on the new card previously posted.
Desperately searching for something to use for cake layers, in a burst of creativity, The transom sidelights from the Door to Door stamp set, jumped into my head. Masking with sticky notes and quite a bit of experimentation, the layers were stamped on linen cardstock, trimmed, outlined, painted with and brushed with coordinating SticklesWhat amazed me was how perfectly the Liquid Pearls and Stickles colors matched with Papertrey Ink Dye Ink . I used my new set of Teranishi Rushon Petite Pens from Jet Pens to outline the detail on the " cake" layers.
My apology to all of the Papertrey Ink artists for not including the Create With Us March 2016 Challenge and linking all of the artist names to my original card post, Bunnies Bunnies Everywhere. In my excitement of posting the card I forgot. There was no intentional neglect meant.
Bunnies Bunnies Everywhere!

These bunnies like the frosting on a cake!
Making this card kept me busy ALL day Inspired by the yummy looking cake sample on Papertrey Ink's blog , I searched through my stamp collection and could not find what I wanted. Trying to make a layer cake, I became creative😊 Love this new set, Spring Borders, especially the adorable bunnies and I think the streamers from Hooray are terrific! They look just like the real crepe paper streamers from the store.
Wool Felt Hair Clips modeled in Real Life🙂

Granddaughters having fun reading books while wearing handmade wool felt hair clips made by Gran.
Doesn't get much better than this!

Prayer Cards, Prayer House

This small house was made to hold prayer request cards for the church we attend.

Little house with prayer request cards.

The request cards fit nicely inside the prayer box.
I enjoyed the challenge of making this little house using the new die from Papertrey InkTiny Town: Basics and Tiny Town: Square Shingles Dies. You may not be able to tell from the pictures of the house, but the roof shingles when cut give the appearance of individual shingles. Really neat! The possibilities for these buildings in the Tiny Town set are endless!
After cutting several houses and practicing stamping a variety of designs on the walls of the house, I decided to use Rubber Stamp Tapestry's Pottery Garden set and a variety of inks for color.
After cutting several houses and practicing stamping a variety of designs on the walls of the house, I decided to use Rubber Stamp Tapestry's Pottery Garden set and a variety of inks for color.
The prayer cards were made by die cutting and stamping Papertrey Ink's Boards and Beams and A Cheerful Heart stamp sets. I added 4 eyelets to reinforce the top of the house for a string closure. I would love to hear your comments about this prayer box.
Wool Felt Hair Clips
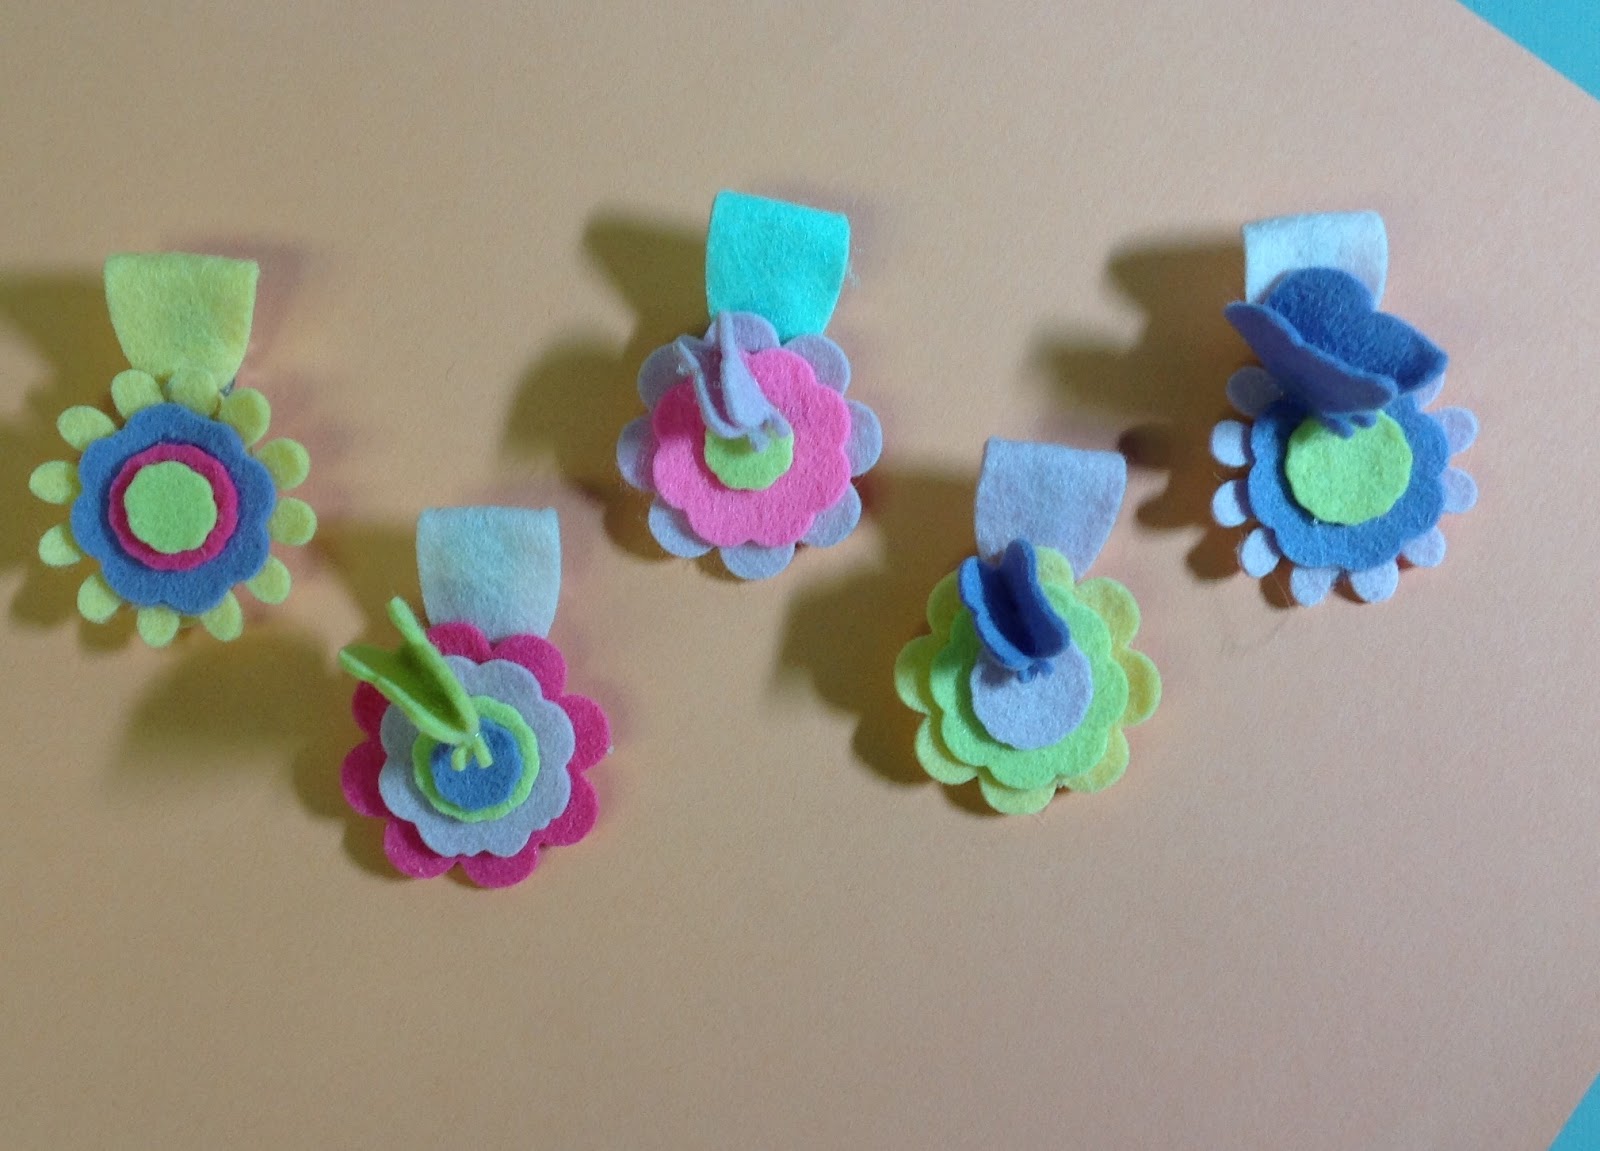
I am planning to make some more pretty clips soon, stay posted.... THIS is fun ! Hope you like them!
Subscribe to:
Posts (Atom)